How To Prep And Paint Exterior Wood Trim

Tips For Painting Your Wooden Exterior Trim Home Painters Toronto

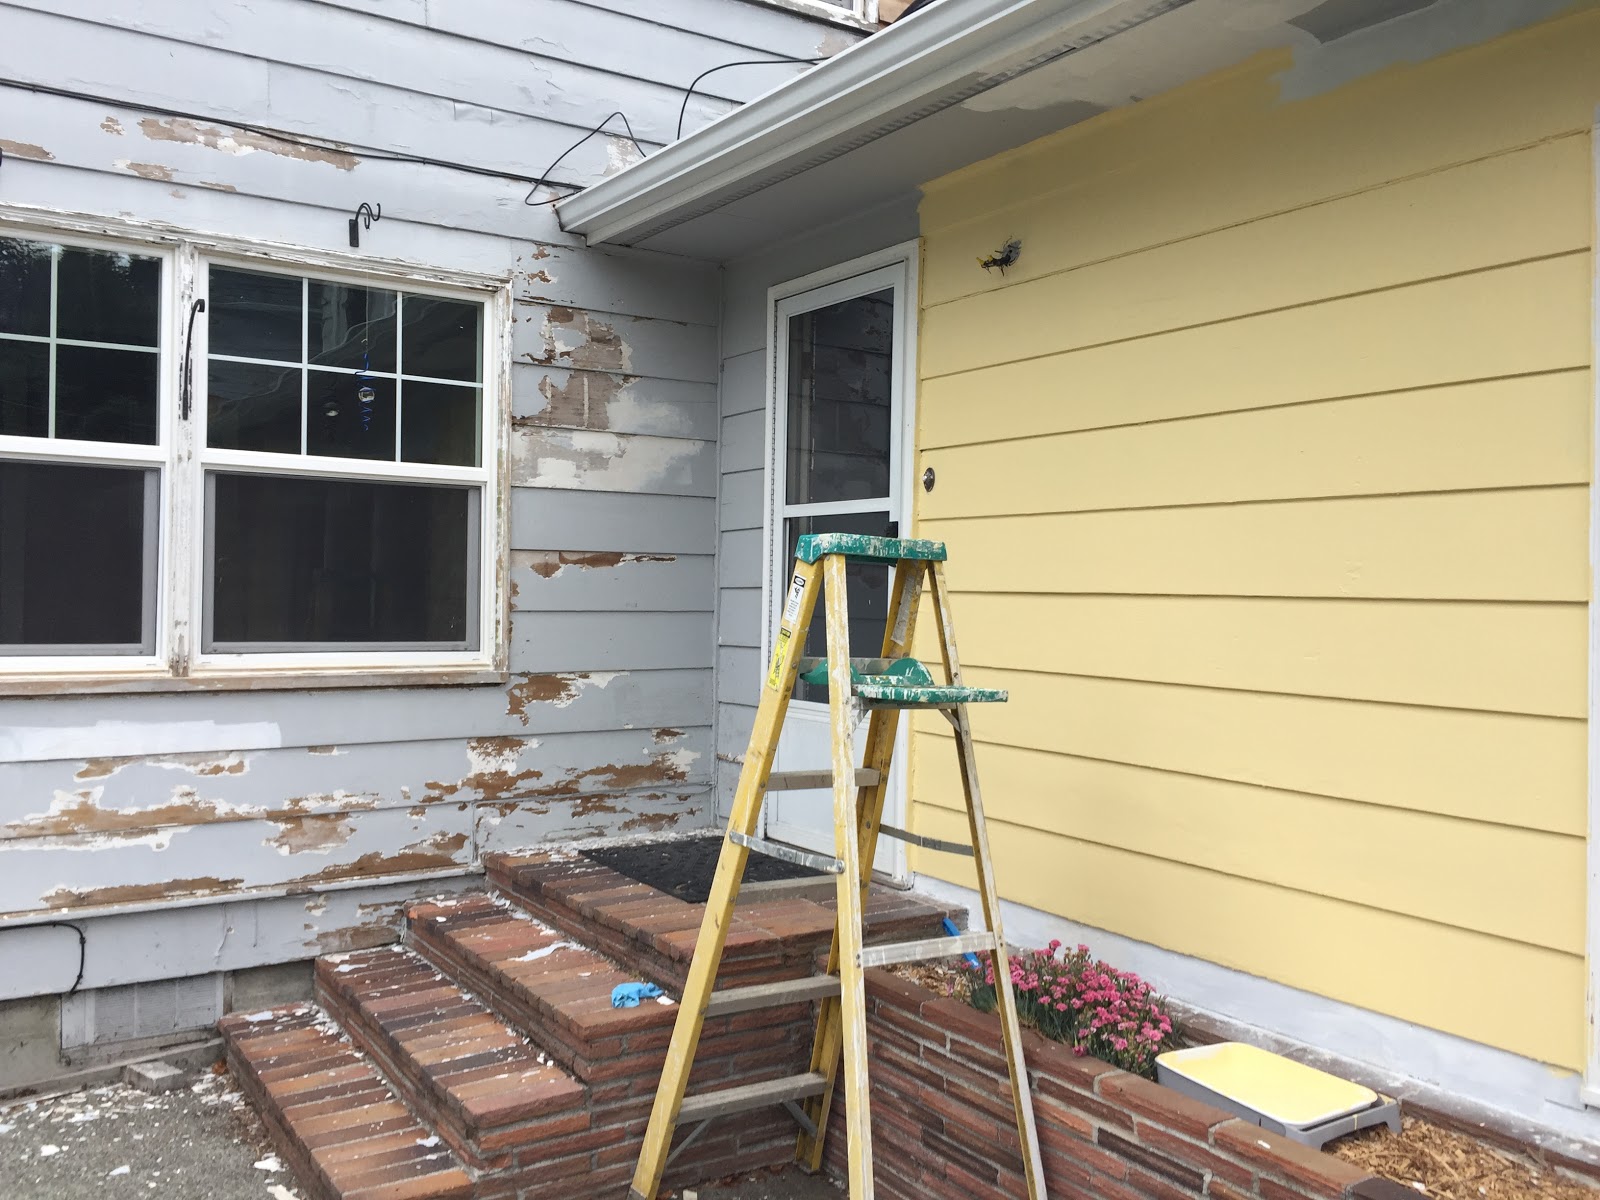
How To Correctly Prep Exterior Trim For Painting Eco Paint Inc Exterior Trim House Paint Exterior Painting Trim
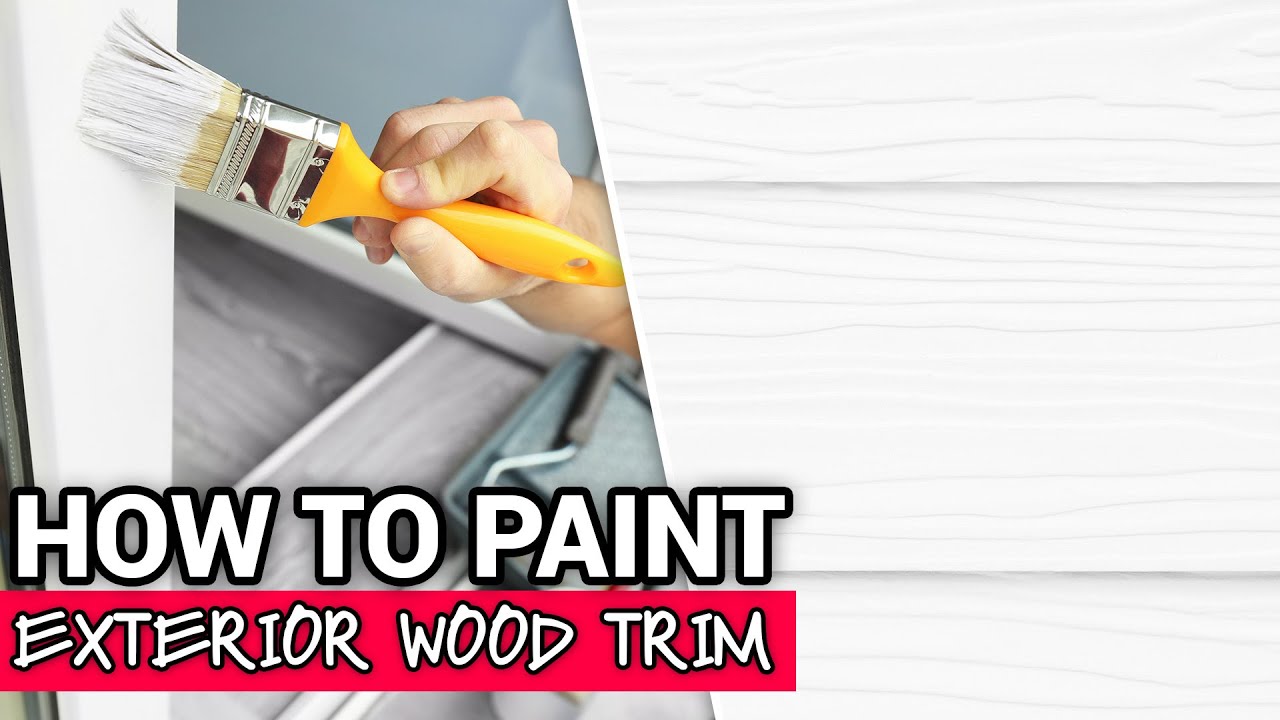
How To Paint Exterior Wood Trim Ace Hardware Youtube

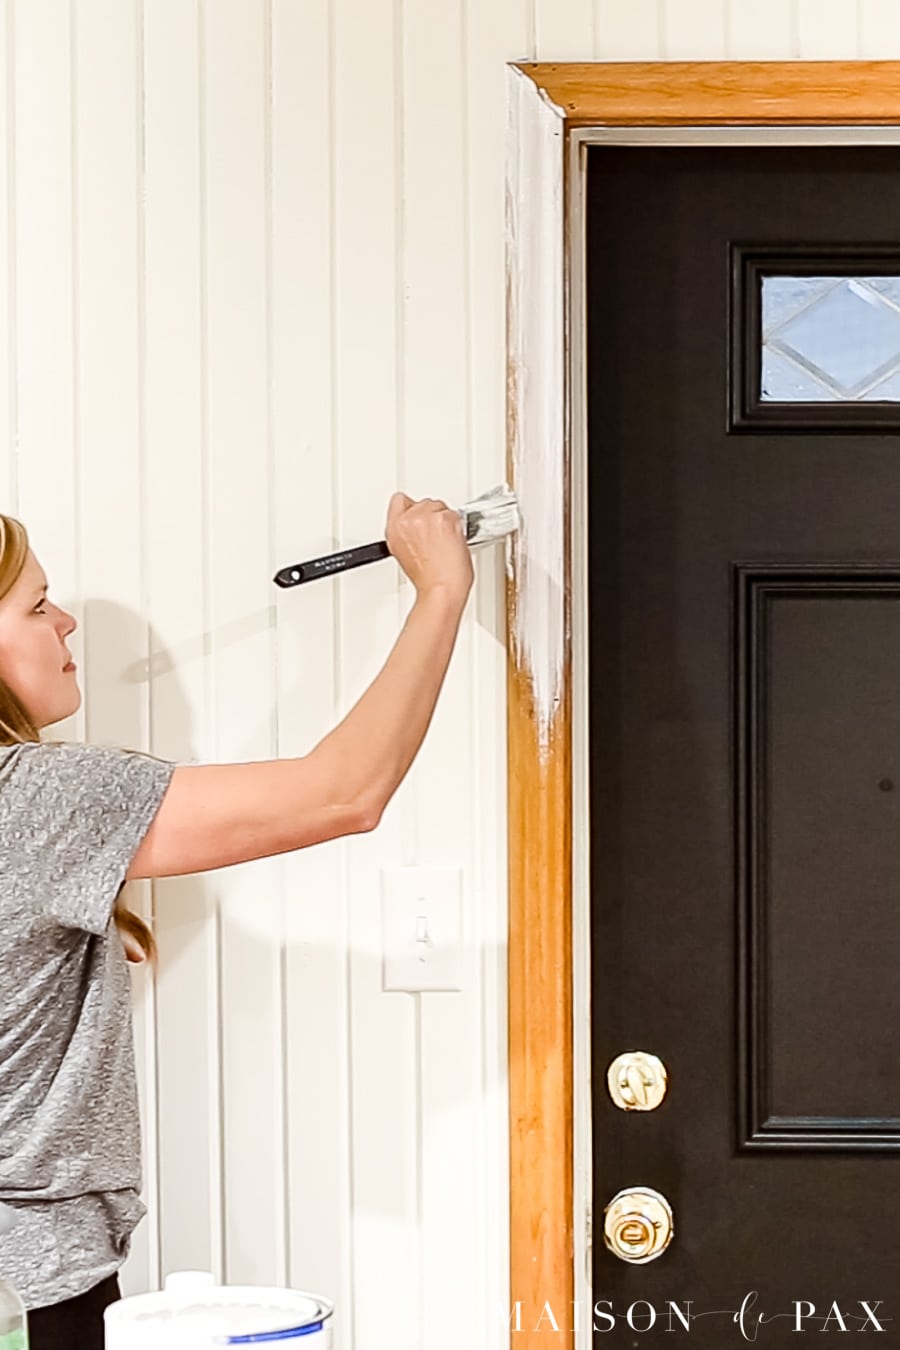
How To Prep Repair Paint A Front Door Painted Front Doors Wood Front Doors Painted Exterior Doors

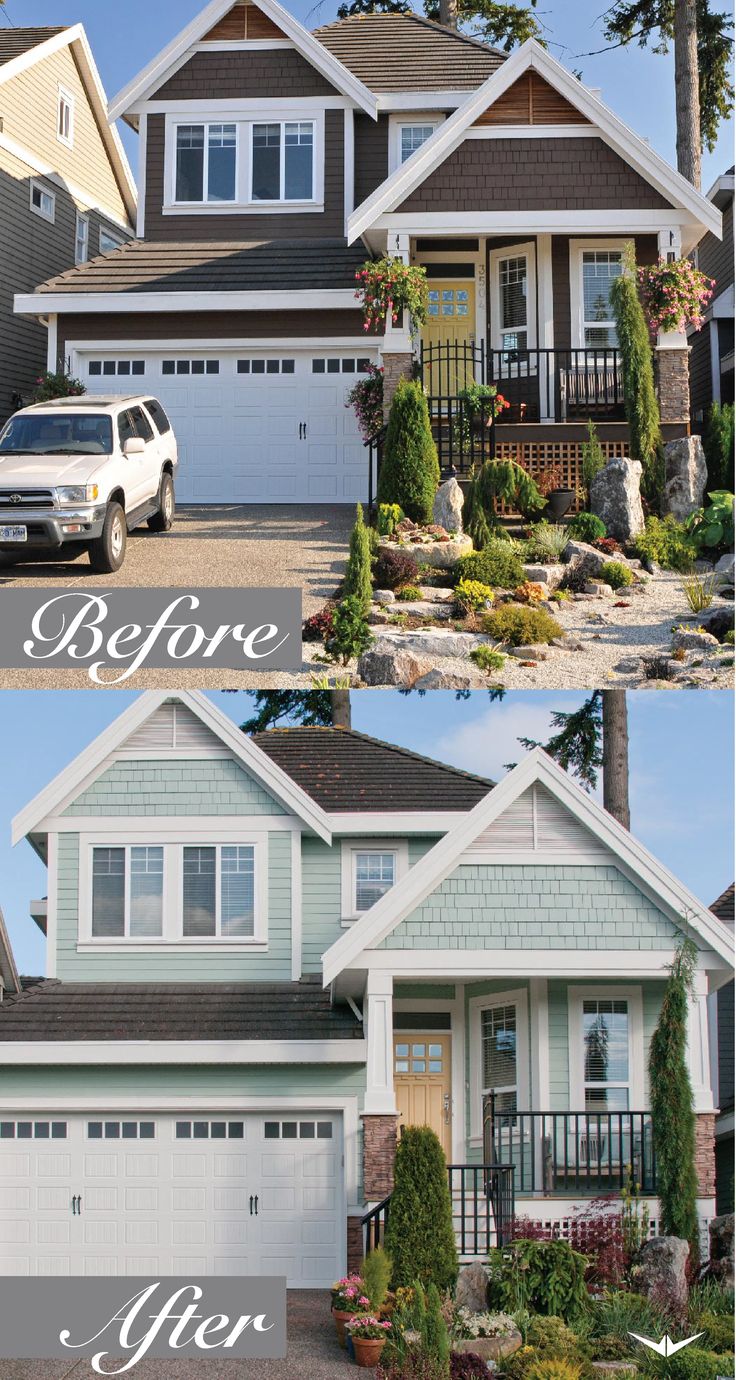
When It Becomes Time To Paint The Exterior Of Your Home You Are Going To Need To Make A Decision About Which Exterior Paint Top Paintings House Paint Exterior
How To Paint Wood Trim Maison De Pax
/cdn.vox-cdn.com/uploads/chorus_asset/file/21849222/iStock_1223022367.jpg)
Another key step preparing trim for paint is priming.
How to prep and paint exterior wood trim. How to Patch Trim for Painting Step 1. Reload the brush when necessary and maintain a wet edge. Sanding and Scraping The real bulk of the work in exterior paint prep is surface prep.
Replace rotted fascia boards with. Picking out exterior painting colours. For best results use a high quality bristle paintbrush with an angled edge.
If youre working on an unpainted surface you can give it a quick prep. To Summarize Prepping Exterior Trim For Paint Sanding filler caulking edges where trim meets another substrate allowing to dry. Be sure to flex the putty knife to produce a flat surface.
Fill the holes with wood filler. Hold the infrared stripper in place for one minute then immediately scrape off the softened paint. The most difficult part of that prep is sanding and scraping.
Pressure wash to remove dirt Pressure washing removes loose paint and built-up grime and improves paint adhesion. Inspect the wood for dry rot which may be darker brown and crumbly or spongy in texture. For a house with a great deal of trim.
Make sure that the wood filler extends slightly beyond the perimeter of the damaged area This excess wood filler will later be sanded away. Avoid directing water up under the laps and keep the nozzle at least 16 in. Allow the primer to dry for about 2 hours.

Pin On Exterior Painting Projects Cleveland Ohio

How To Paint Trim White My Method For Painting My Whole Home Myself

Tips For Painting Your Wooden Exterior Trim Home Painters Toronto
Colour Consultations Warline Painting Ltd Light Blue Exterior House Colors Blue Exterior House Colors Exterior House Colors

How To Prepare Exterior Wood For Painting 14 Steps
Exterior House Paint How To Choose The Right One This Old House

How To Paint Baseboards And Trim Life On Virginia Street Painting Baseboards Baseboards Painting Trim

Diy Steps Painting Exterior Wood Siding Tips Eco Paint Inc Wood Siding Exterior Diy Exterior Painting Diy Exterior

Pin On Hall

What Is Painting Season For Outside Of A House Https Cstu Io A4359c Beautiful Illustration Beautiful Outside House Paint House Painting Cost House Exterior

How To Prepare Wood Trim For A Smooth Paint Job In 2020 House Painting Tips Wood Trim Paint Job

Airless Paint Sprayer Tips For Exterior Paint Jobs There S No More Efficient Way To Deliver Paint Ont Exterior Paint House Paint Exterior Exterior House Colors

Exterior Painting Steps Plan Prep Protect Enjoy Exterior Paint Step By Step Painting How To Plan